
This tutorial explains the basic text works in LibreOffice Writer. You will learn basically how to type, select, delete, copy & paste, undo & redo, bold-italic-underline, color & highlight, bullets & numberings, use of headings, align left-center-right, and finally making columns. Happy learning!

(A document with text formatting like bold, italic, colors, and more)
Subscribe to UbuntuBuzz Telegram Channel to get article updates directly.
On LibreOffice: User Interface | Basic Saving | Basic Formatting | Table of Pictures | Cropping | Columns | Lorem Ipsum | Portable Version | A/F/S | Version 6.2 | Bibliography | Zotero
Summary
You will learn 10 skills:
- 1. Typing
- 2. Selecting
- 3. Deleting
- 4. Copy & Paste
- 5. Undo & Redo
- 6. Formatting
- 7. Bullets and Numberings
- 8. Writing
- 9. Titles & Subtitles
- 10. Columns
1. Typing
This is the basic thing. Click your mouse pointer on the page and type with your keyboard.
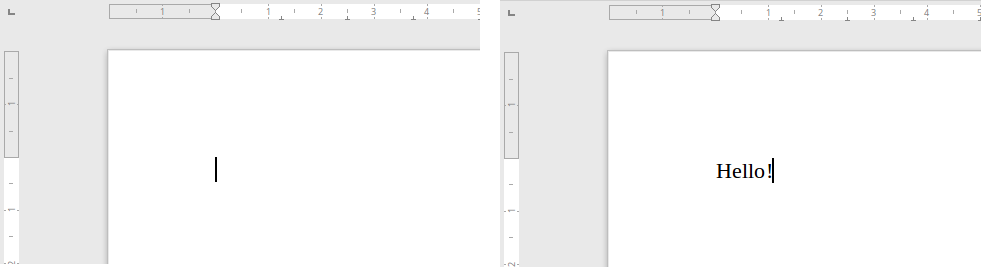
(Picture 1.1)
Continue typing until you got a paragraph.
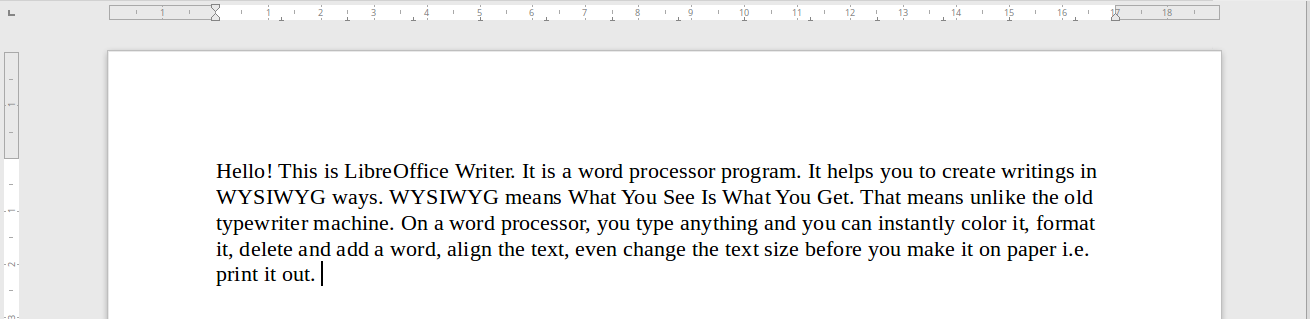
(Picture 1.2)
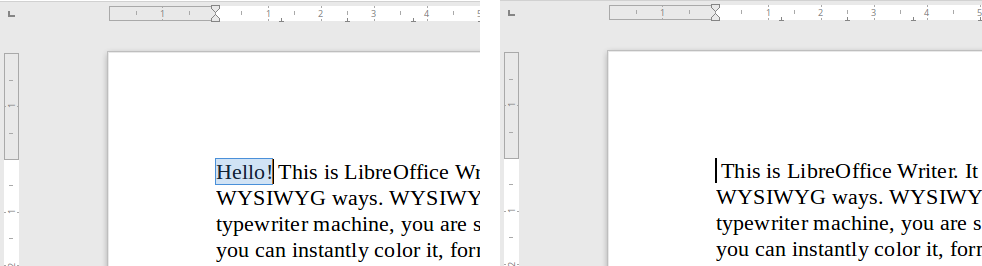
2. Selecting
Put your pointer in a point, hold press it, and move mouse horizontally, you see the text selected. Selected text is ready to be formatted. Without selecting, you cannot format the text.
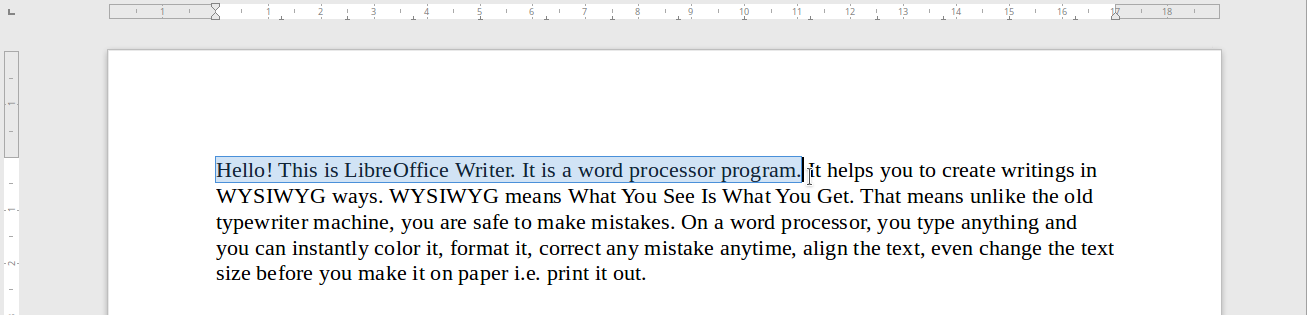
(Picture 2.1)
3. Deleting
Press Backspace once you delete a letter. Press Backspace twice you delete two letters. And so on.
(Picture 3.1)
Select a word, press Backspace, you delete a word. Select two words, press Backspace, you delete two words. And so on.
(Picture 3.2)
Select a sentence, press Backspace, you delete a sentence. Select a paragraph, press Backspace, you delete a paragraph.

(Picture 3.3)
Press Ctrl+A, you select whole text in a document, press Backspace, you delete whole text in a document.

(Picture 3.4)
4. Copy & Paste
Select a text, right-click > Copy, put cursor else, right-click > Paste, you copied that text.

(Picture 4.1)
To copy a word, or a sentence, or a paragraph, or whole text, the method is the same. Picture 4.2 below shows a Hello! word copied 10 times.

(Picture 4.2)
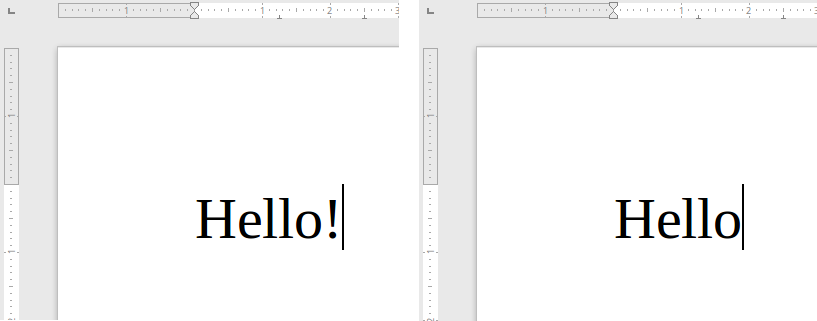
5. Undo & Redo
Whenever you did a mistake, press Undo button, you revert back to before mistake happened.

Whenever you did an Undo you dislike, press Redo button, you Undo what you did Undo.

6. Formatting
Text formatting involves changing font (typeface) selection, font size, making bold-italic-underline, and coloring and highlighting.

- Font selection, font size

- Bold, Italic, Underline

- Color and highlight
Example:
Picture below compares first paragraph without formatting and second one below it with color, Bold-Italic-Underline, and highlight.
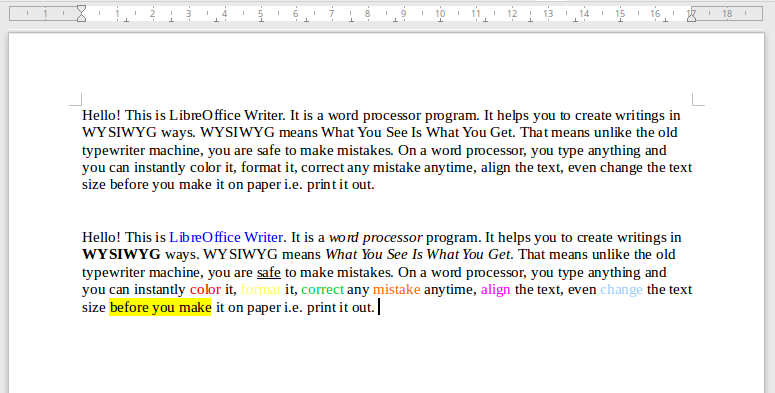
(Picture 6.1)
7. Bullets and Numberings
To make automatic bulleted or numbered items, we use Bullets & Numberings buttons. We can choose either to use black dots, black diamonds, black boxes, or else for bullets; and we can choose either to use 1. or I. or A. for numberings.

- Bullets, Numberings
Example:
Here's same text divided in two parts. Top part is a list with bullets and bottom part is a list with numberings.
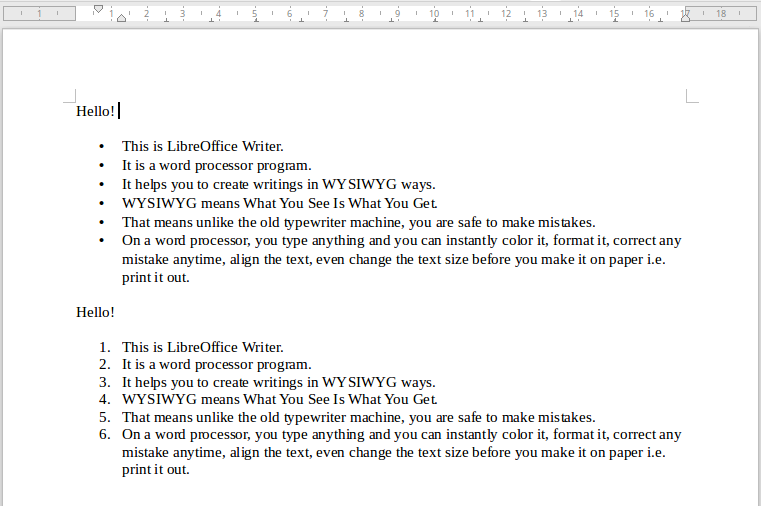
(Picture 7.1)
8. Writing Word, Sentence, Paragraph
- New Line, New Page

- Align Left, Center, Right, Justified
Example:
See the position of "Hello!" words below. And the unique of Justified is that right-end is aligned the same way as the left-end.

(Picture 8.1)

- Vertical spacing, horizontal spacing
Spacing is the measurement between a line and line below it. There are 1pt, 1.5pt, and 2pt measures. This is vertical spacing. Indent is the measurement between beginning of a line/paragraph and page margin. This is horizontal spacing. Picture 8.2 below compares vertical spacing on first row and horizontal spacing on second row.

(Picture 8.2)
9. Writing Titles & Subtitles
A very important yet useful feature of word processor is heading, the ability to identify every important point of text. Heading is not to be confused with header, as that is a different thing. Heading is also called Paragraph Style or simply Style. There are Default Style, Heading 1, Heading 2, Heading 3, and so on available for us to use. A heading has 2 possible uses, first is to easily and automatically create Table of Contents, second is to create our own custom text style as we wish per heading.

- Default Style, Heading 1, Heading 2, Heading 3, ...
To understand the concept, let's compare doing things manually and automatically:
- - Manually: there are 10 subtitles that must be bold-italic-underlined, that means you bold each one 10x, you italicize 10x, you underline 10x.
- - Automatically: simply create a "Heading 1" with bold-italic-underlined characteristics, then apply Heading 1 to each subtitle.
To create headings:
- Type several subsections text like 1. Parents, and then below it 1.1 Son, 1.2 Daughter.
- Select the first subsection text, click heading selector, select Heading 1.
- Select the second subsection text, click heading selector, select Heading 2.
- Select the third subsection text, click heading selector, select heading 2.
Examples:
Typing on Writer basically uses Default Style heading. That is the default. Mostly, we will use headings to create subtitles (subsections) like 1.1 My Preamble or 2.1.1 My Explanations under every of its parent section. Picture 9.1 below shoes a document with 2 chapter headings (Heading 1) and 6 subtitles (Heading 2).

(Picture 9.1)
10. Columns
Column is a way to divide a page in two vertical sections or more. Columns save more spaces and can reduce papers for printing.
- - To create 2 columns: select all paragraph > menubar Format > Columns > choose 2 columns > OK.
- - To create 3 columns: same, but choose 3 columns instead of 2 > OK.
Examples:
Picture 10.1 below compares same document divided with 2 columns and 3 columns.

(Picture 10.1)
Happy writing!
This article is licensed under CC BY-SA 3.0.