
This tutorial explains Mint Ulyana installation procedures in 10 steps. Everyone can practice this tutorial to their computer in any case whether it is single or dualboot, with or without UEFI, normal or into external hard disk drive. By practicing this guide it is wished that you have your computer running Mint GNU/Linux even alongside Microsoft Windows or other distros. Always be careful and have a successful installation!

Subscribe to UbuntuBuzz Telegram Channel to get article updates.
Preparations
- 1) Backup
- 2) Create installation media
- 3) Empty the storage drive
2) Use a USB Flash Drive by at least 4GB size as installation media. Burn the iso image file of Mint Ulyana into that drive so it becomes bootable usb. If you do not have Mint Ulyana yet, download here. If you don't know how to make bootable usb yet, learn here.
3) Format your target disk partition so it will be empty and recognizable as target to install the operating system. If you want to install Mint normally to your computer's hard disk drive, empty a partition so it will be recognized at installation time. For example, as in this tutorial I install Mint into external storage, I formatted it to NTFS so it is recognizable at installation time. Use GParted Partition Editor which is available on Mint & Ubuntu LiveCD to do the job.
Boot Up
Boot your computer to usb so it reads your Mint bootable flash drive.
First
Run the 'Install Linux Mint' on the screen. Select English Language and continue.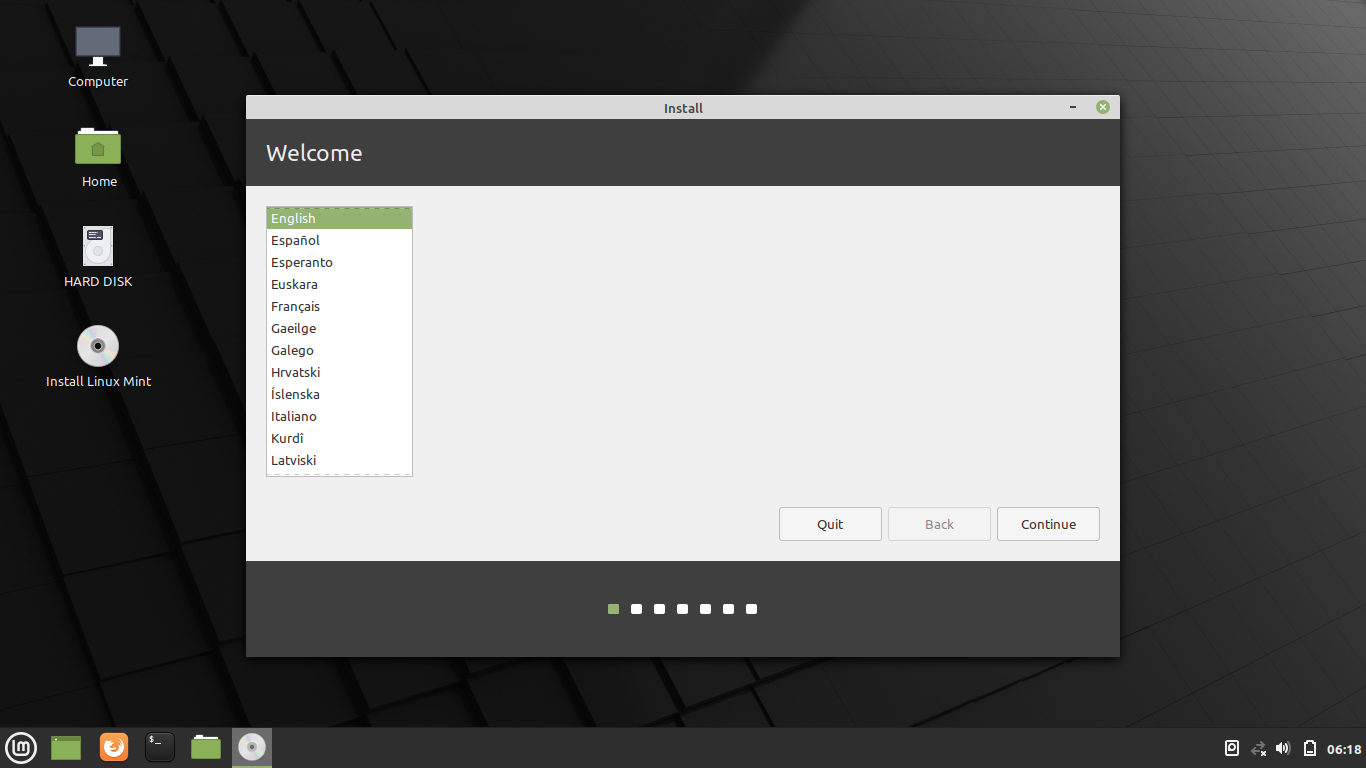
Second
Let it be English (US) Keyboard Layout unless you are using other such as Japanese, Chinese, or anything else.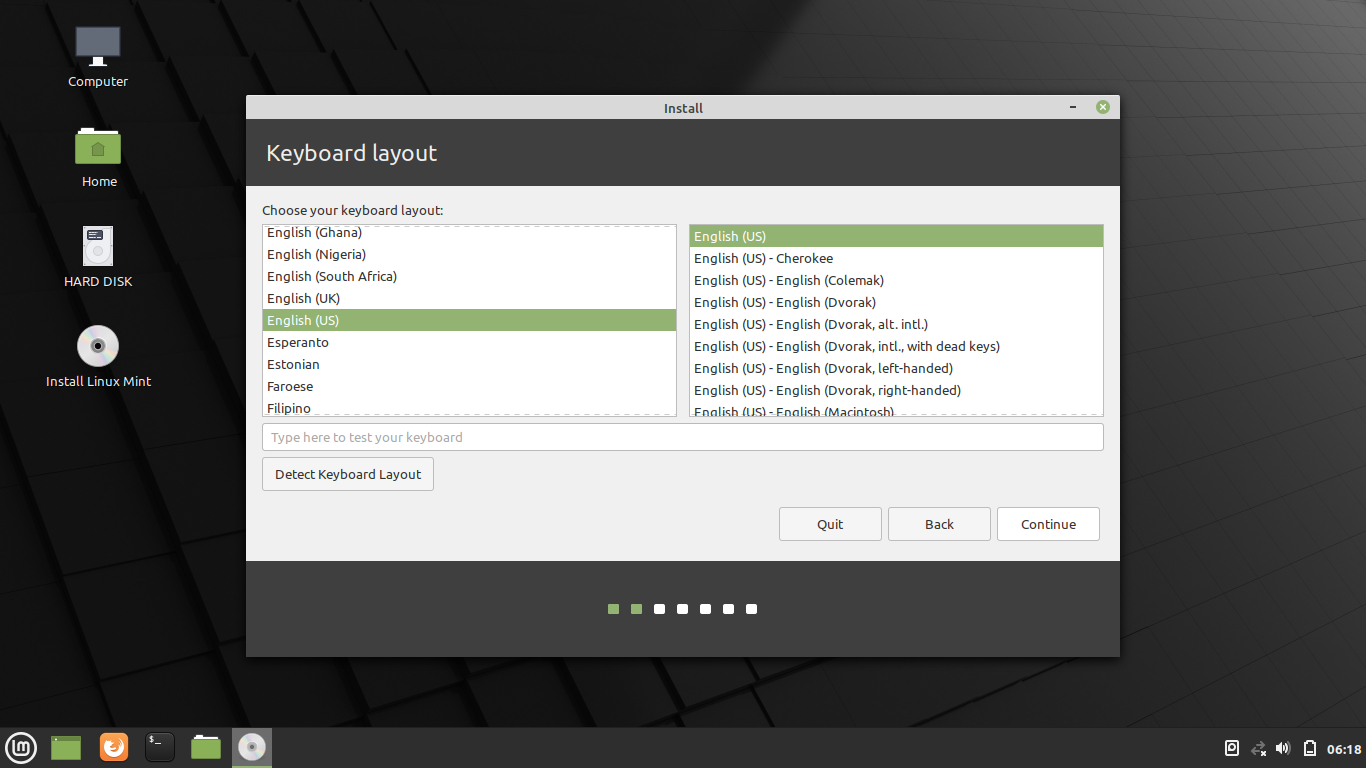
Third
Let it be "I don't want to connect" so that the installation goes offline.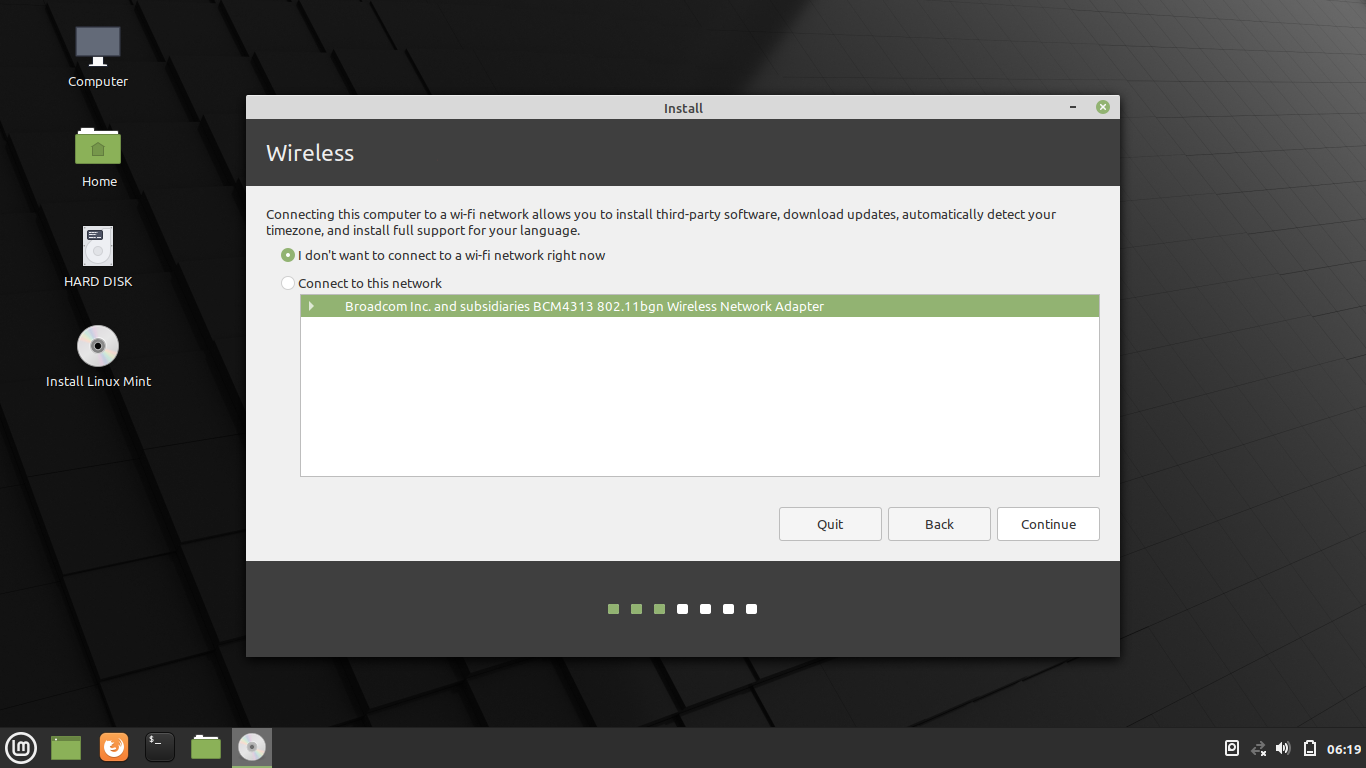
Fourth
Do not select "Install codecs" option and continue.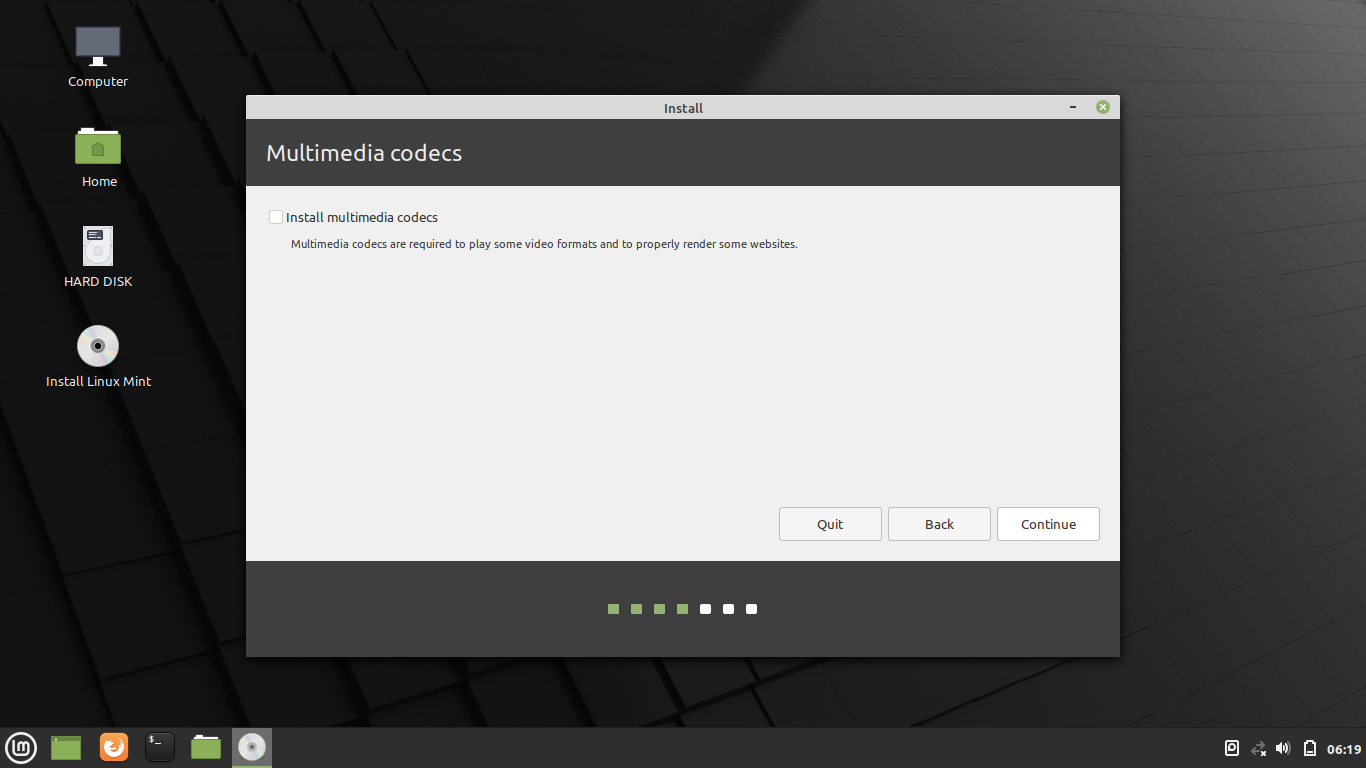
Fifth
Select Something Else instead of any other option.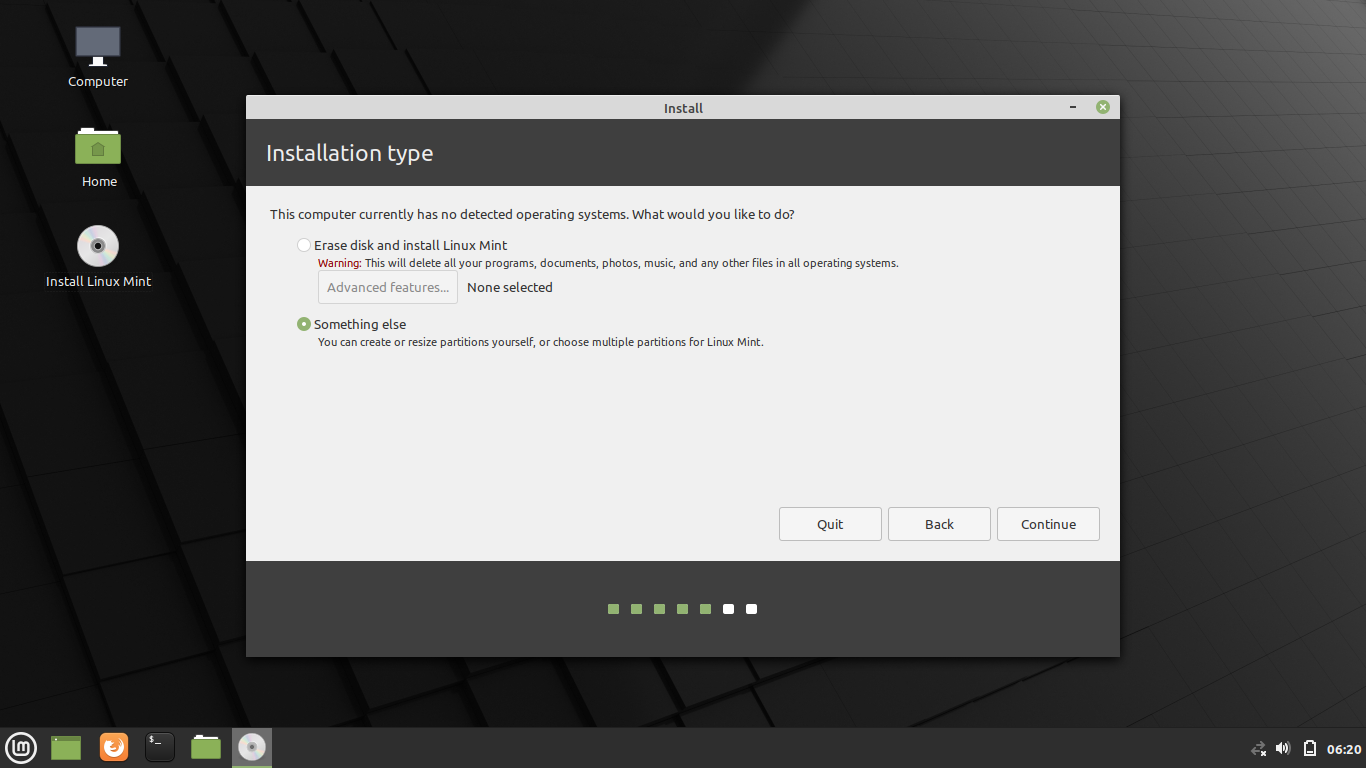
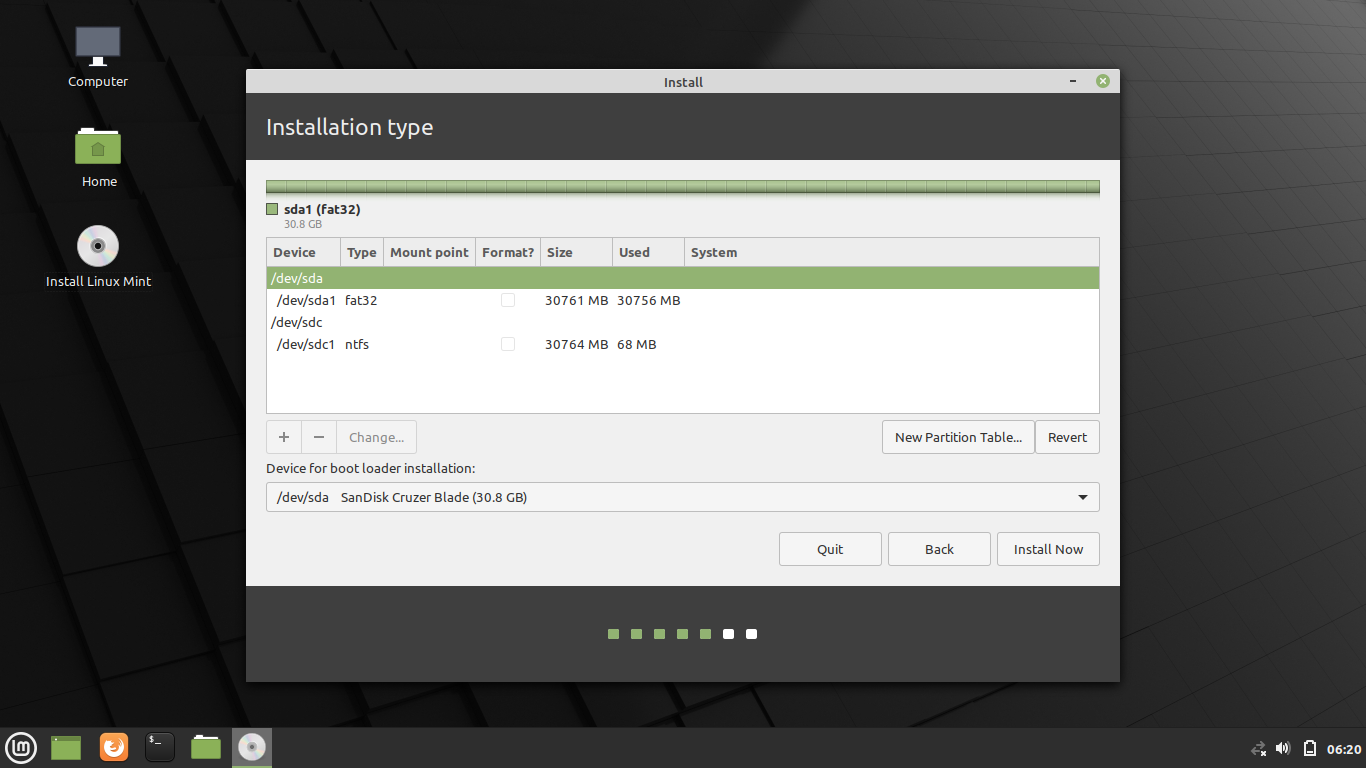
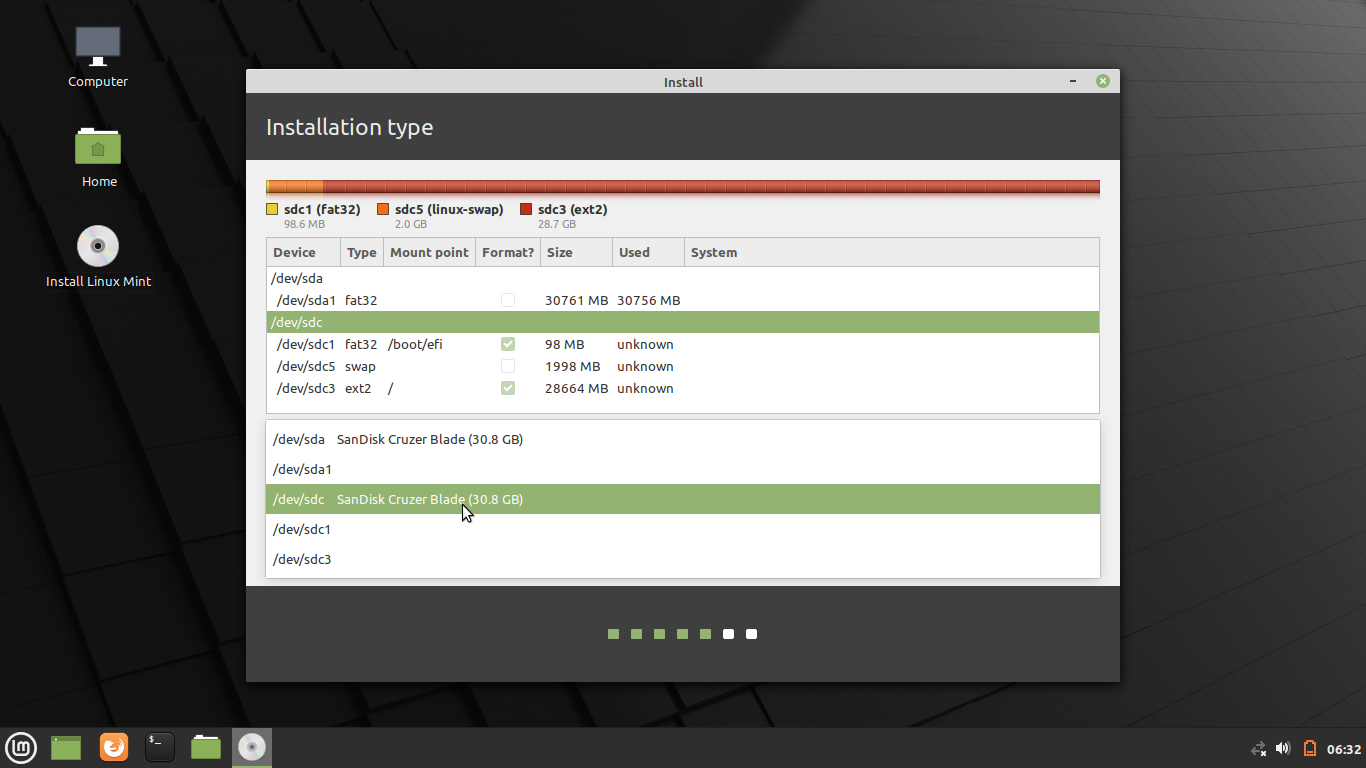
Sixth
- 1. Create EFI partition.
- 2. Create Swap partition.
- 3. Create Root partition.
Second, create the middle size partition by 2GigaByte with swap filesystem choice.
Third, create the biggest partition by the rest of disk space available with EXT2 Filesystem or EXT4 Journaling Filesystem and / mount point. Use EXT2 if you want to install into flash disk drive. Use EXT4 to install into hard disk drive or solid state disk.
Seventh
Select bootloader place correctly and finally click Install Now.- If your root partition is located in /dev/sda1, then bootloader should be in /dev/sda.
- If your root partition is located in /dev/sdb1, then bootloader should be in /dev/sdb.
- If your root partition is located in /dev/sdc1, then bootloader should be in /dev/sdc.
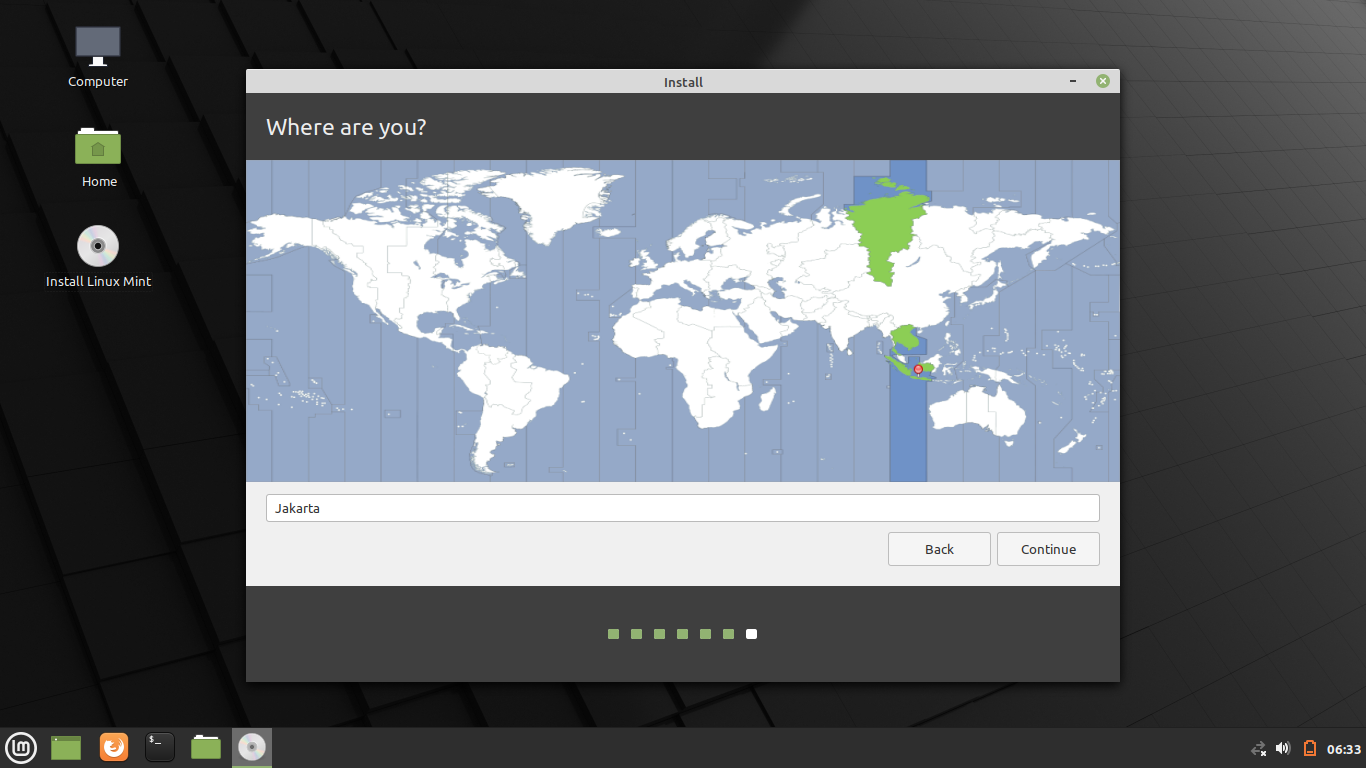
Eighth
- 1) Select your timezone.
- 2) Create your username and password.
1) A world map appears: select your timezone. For example, mine is Asia/Jakarta so I click Jakarta city.
2) A password creation appears: type your wished username, password, and computer name. You may select whether to automatically login or not in there. For the last time, click Continue.
Ninth
Wait for a few minutes.Mint install usually finishes in no longer than 15 minutes.

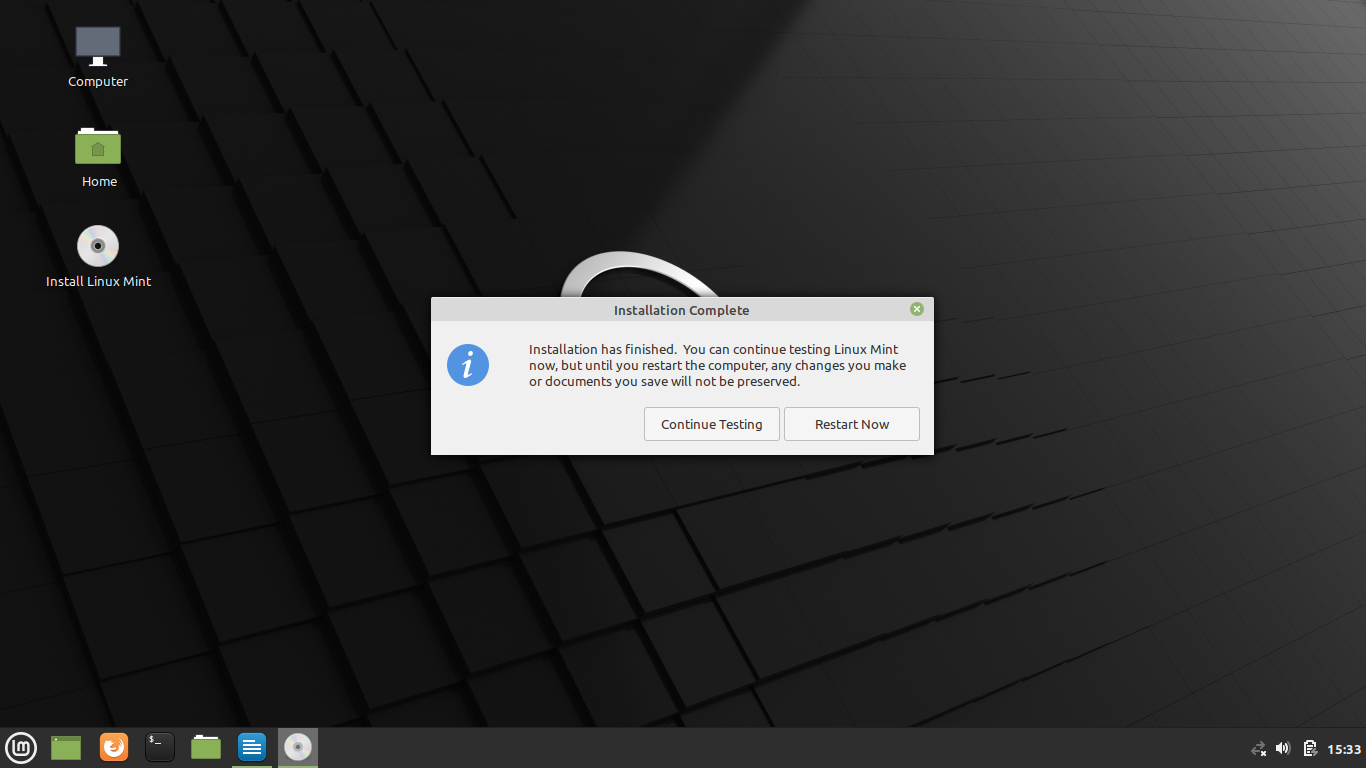
Tenth
Finish.You will see on you screen Installation Complete. This means everything is finished and you are ready to use your new computer with Mint. For the last time, click Restart Now and unplug your flash disk drive while asked. Congratulations!
Once rebooted, you should see your computer now empowered by Mint Ulyana. You will be greeted by a warm Welcome like the first picture above. Happy working!
This article is licensed under CC BY-SA 3.0.