
Table is an item of rows and columns. In Writer, you can create table in any size, control its horizontal & vertical lines, merge & split cells, even apply a color theme for it, and finally to automatically sort out table contents as you wish. You will learn by examples once again in this tutorial. Happy learning!

Subscribe to UbuntuBuzz Telegram Channel to get article updates directly.
Summary
- What is a table?
- Table Toolbar in Writer
- 1. Create Table
- 2. Fill Table
- 3. Resize Table
- 4. Add/Delete
- 5. Borders & Lines
- 6. Coloring
- 7. Sorting
What is a table?
Table is a union of rows and columns. In other words, a table is a collection of cells. A table normally comprises of lines both horizontally and vertically wrapping the cells within.

(A table with 5 cells x 5 cells in a Writer document)
Table Toolbar
This is table toolbar in full length. This toolbar is hidden by default except cursor is in or selecting a table.

To see it clearer, I divided this long toolbar into 7 parts below:

- (A) Add
- (B) Remove
- (C) Merge & Split
- (D) Align Contents & Coloring
- (E) Borders & Lines
- (F) Numbering Format
- (G) Functions
1. Create Table
- See toolbar.
- Click Insert Table button.
- Move your cursor so you see blue boxes over white boxes.
- Click.
- A table created based on how many row x column you chose.

2. Fill Table
- Put cursor in a cell.
- Type anything.
- Put cursor in another cell.
- Type anything.
- Finish all cells.
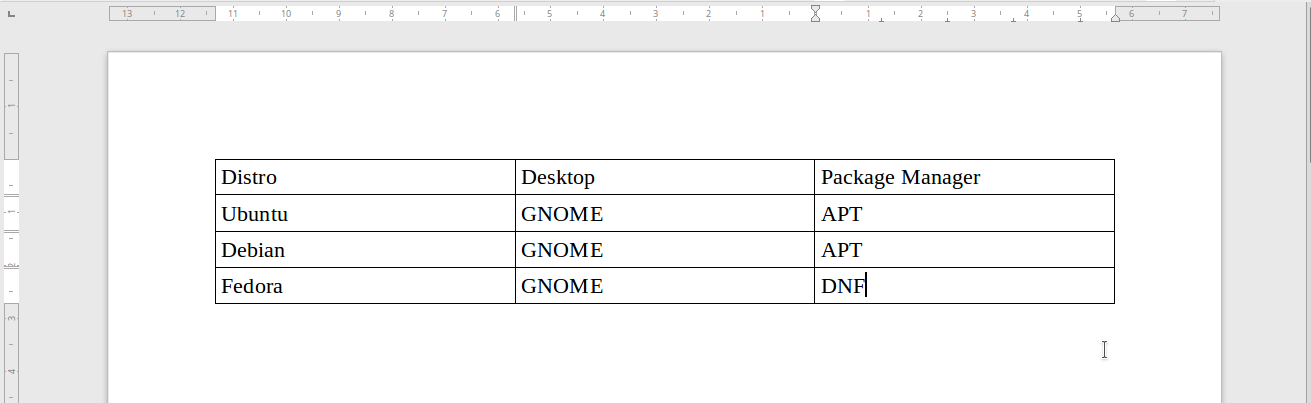
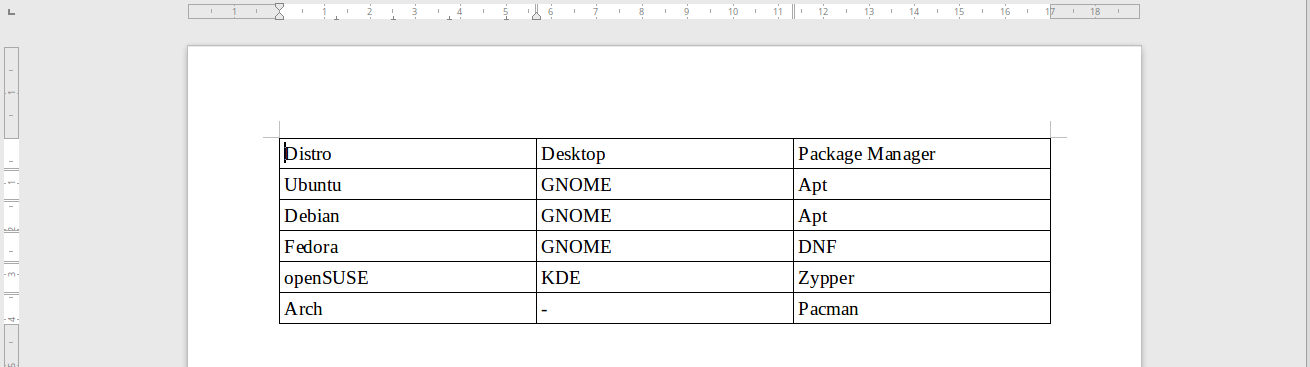
Picture 2.1
(A 3x4 table with some text contents)
3. Resize Table
- move cursor to a vertical line, either left, center, or right one.
- cursor changed to a left-right arrow.
- drag cursor horizontally.
- table resized horizontally.
- move cursor to a horizontal line, drag, table resized vertically.
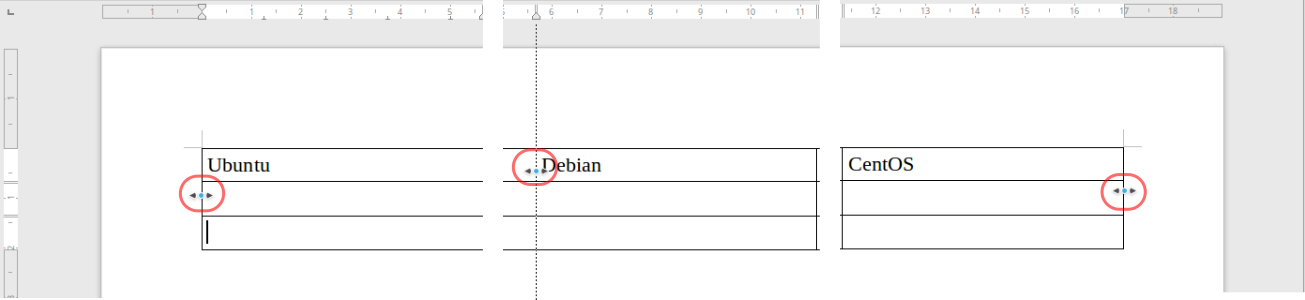
Picture 3.1
(Resizing a table by dragging its outer edges)
4. Add/Delete Rows & Columns
Whenever cursor placed in a cell, Table Toolbar appears with 7 buttons below:

Add row / column:
- Put cursor at a cell.
- Click 1st button to add new row to top.
- Click 2nd button to add new row to bottom.
- Click 3rd button to add new column to left.
- Click 4th button to add new column to right.
Remove row / column:
- Put cursor at a cell.
- Click 5th button to delete current row.
- Click 6th button to delete current column.
- Click 7th button to delete entire table.
5. Borders & Lines
A table may have complete lines both outer and inner ones. A table may also have incomplete lines, with variations, for example only top and bottom horizontal borders, or only inner vertical lines, you can control that with Borders. A table's lines may have a certain styles, for example, dotted or doubled ones, you can control that with Border Style.
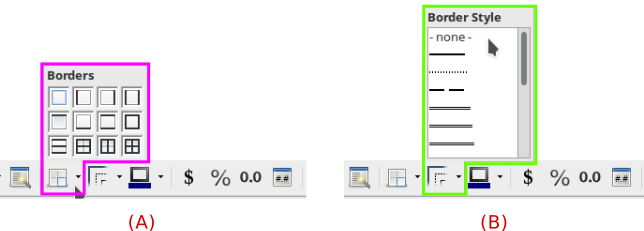
Picture 5.1
(A. Borders: table borders mode selection | B. Border style selection)
Before:

After:
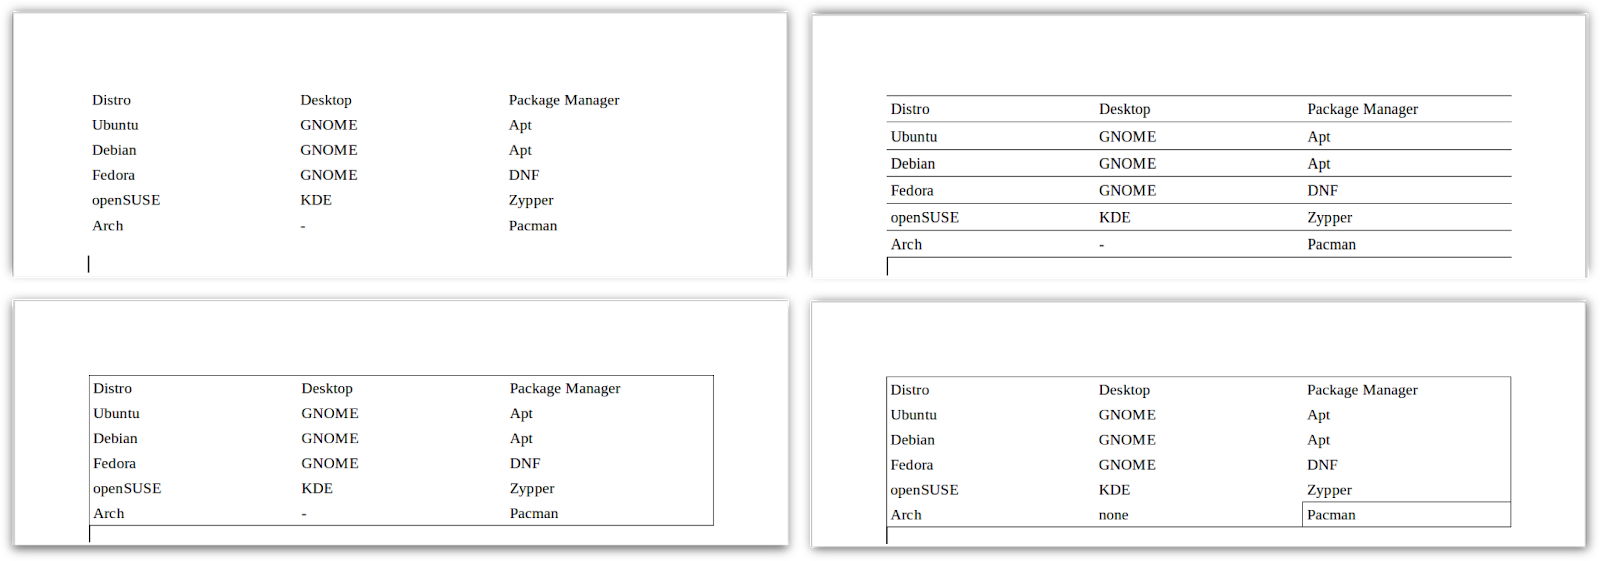
Picture 5.2
(A. Table without border | B. Table with horizontal borders only | C. Table with outer borders only | D. Table with only one cell completely bordered)
6. Manual & Automatic Coloring
A table can be colored per cell, per column, and per row. You can do it manually with Background Color button. Other than that, Writer provides multiple color themes you can choose for your table from menubar Table > Autoformat Styles.
6.1. Manual:

- Select several cells.
- See Formatting Toolbar, see Background Color button.
- Click Background Color and select a color e.g. green.
- Selected cells are now colored.

Picture 6.1
(A table with first row colored in light green)
6.2. Automatic:
- Create a table.
- Select all cels.
- Go to menubar Table > Autoformat Styles.
- A dialog appears.
- Select a color template from left panel e.g. Box List Green.
- OK.
- Table colored as color template selected.
Automatic method is basically a special autoformat for tables, not only about colors, but also about currency and number formatting. However, we use it here merely for the colors. The important thing is that you can select from the 5 selections available Number format, Borders, Font, Pattern, and Alignment to apply completely the theme or not.

Picture 6.2
((A) Menu location | (B) Autoformat dialog selecting Box List Green theme)
As practice, below is the example. Before is a table with 3 columns and 4 rows. After is the same table colored with 4 different colors from themes available at Autoformat Styles. Pay attention at the table first & last row colors, and how the rest of rows are different thanks to grey-write coloring. Also, the resulting tables are all without borders.
Before:
After:
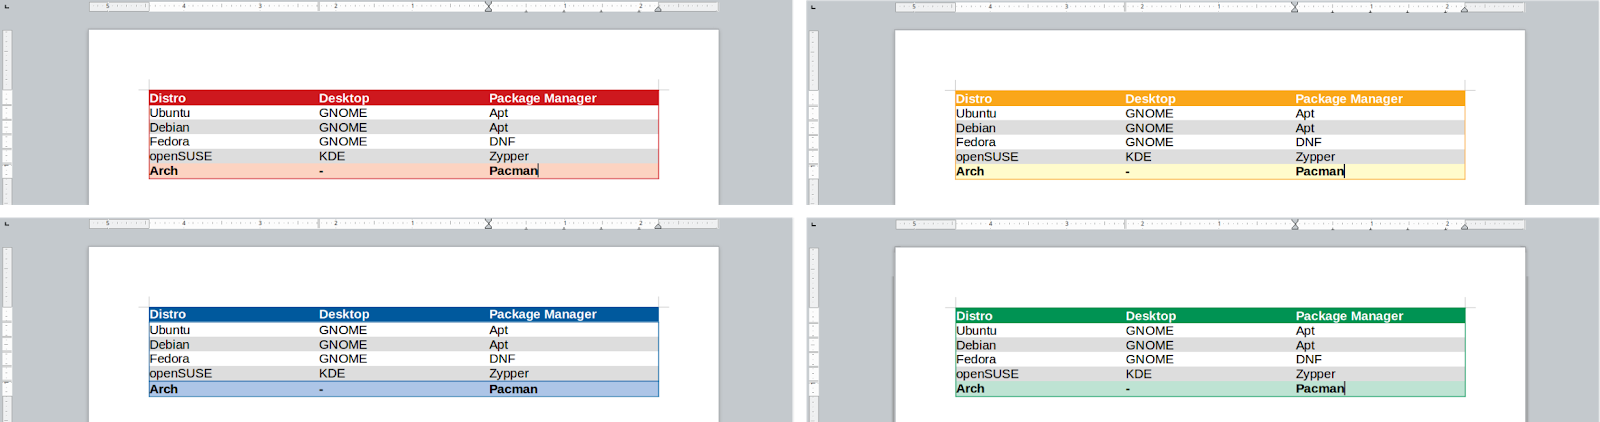
Picture 6.3
(Red, Orange, Blue, and Green color themes applied into a same table)
I use LibreOffice 6.2.5.2 for this example. Your version perhaps has different color selections.
7. Sorting
Text contents in a table can be sorted automatically.

- Make sure a table has at least 2 columns full with text.
- Select all cells that want to be sorted.
- Click Sort button.
- Sort dialog appears.
- Select Column 1 to sort table based on Column 1, select Column 2 to sort table based on Column 2, and so on.
- OK.
- Table sorted automatically.

Picture 7.1
(Sort dialog to determine sorting criteria)
As example, you can try to sort out a distro list based on their names and then based on their initial years. To sort based on the former, choose Column 1, and choose Column 2 for the latter. The result is a table that lists distros from Arch to Zorin, or, a table that shows history from 1993 until 2015 for that GNU/Linux distros.
Before:
There is an unsorted table with distros and their years of initial release in only two columns. There are A until Z, from Arch to Zorin.

After:
When we sort based on name (yellow on left), the years follow the name. And when we sort based on years (yellow on right), the names follow the year.
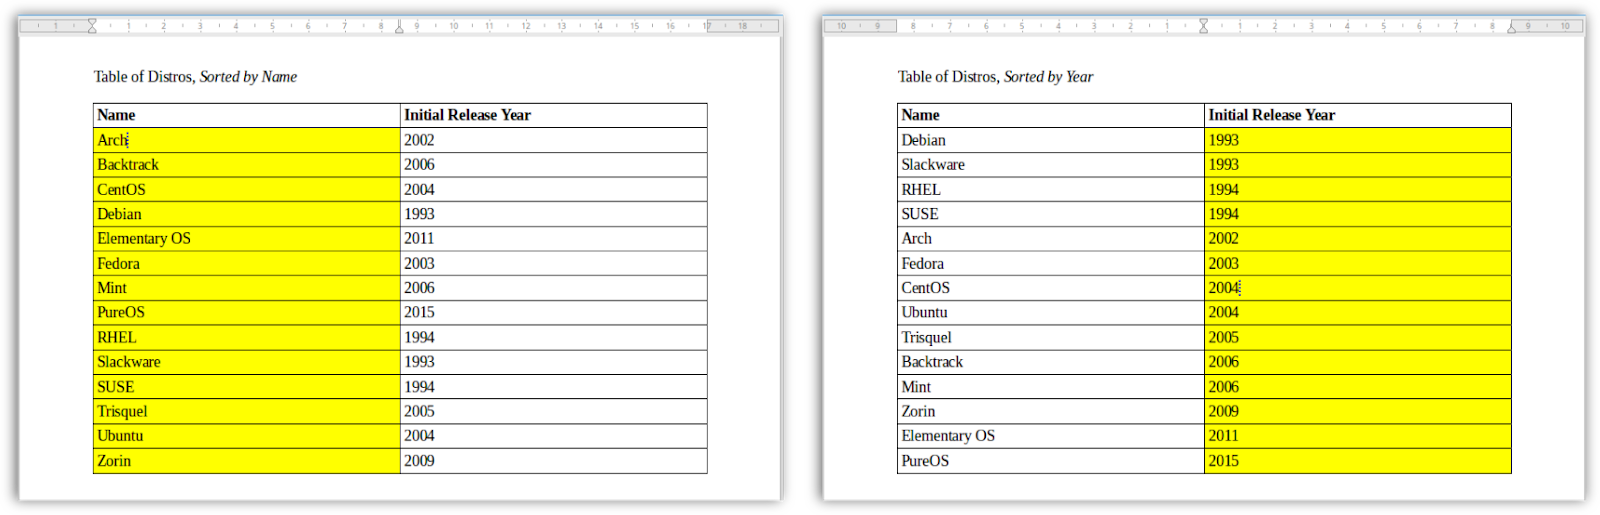
Picture 7.2
(Left: table sorted by first column "Name" showing A-Z | Right: table sorted by second column "Year" showing 1993-2015)
Happy writing!
This article is licensed under CC BY-SA 3.0.