
LibrePCB is a free/open source electronic design automation (EDA) software. Its purpose is to help electronic engineering people draw circuits and make printed circuit board designs with drag-and-drop approaches and many more. Its latest version is 0.1.7 which has been released 3 October 2022. We write an overview and introduction of LibrePCB in this article.
Subscribe to UbuntuBuzz Telegram Channel to get article updates.
About LibrePCB
Features
- Free/libre open source software
- Fully unlimited
- Easy to use
- Schematics drawing
- PCB drawing
- Library management
- Integrated circuits (ICs) of Arduino, Adafruit, Texas Instruments, etc.
- Community sharing forum
Similar Software
- KiCAD
- gEDA
- Altium *
- EAGLE *
*) Proprietary software.
Minimum Requirements
Operating system:
- GNU/Linux
- Windows
- macOS
Download LibrePCB
1. Visit the web page https://librepcb.org/download.2. See the versions available.
3. Pick the version suitable to your operating system.
For Ubuntu users, simply download the installer version under "Linux".
4. You are downloading the software package of LibrePCB.
5. Install LibrePCB software package into your computer system.
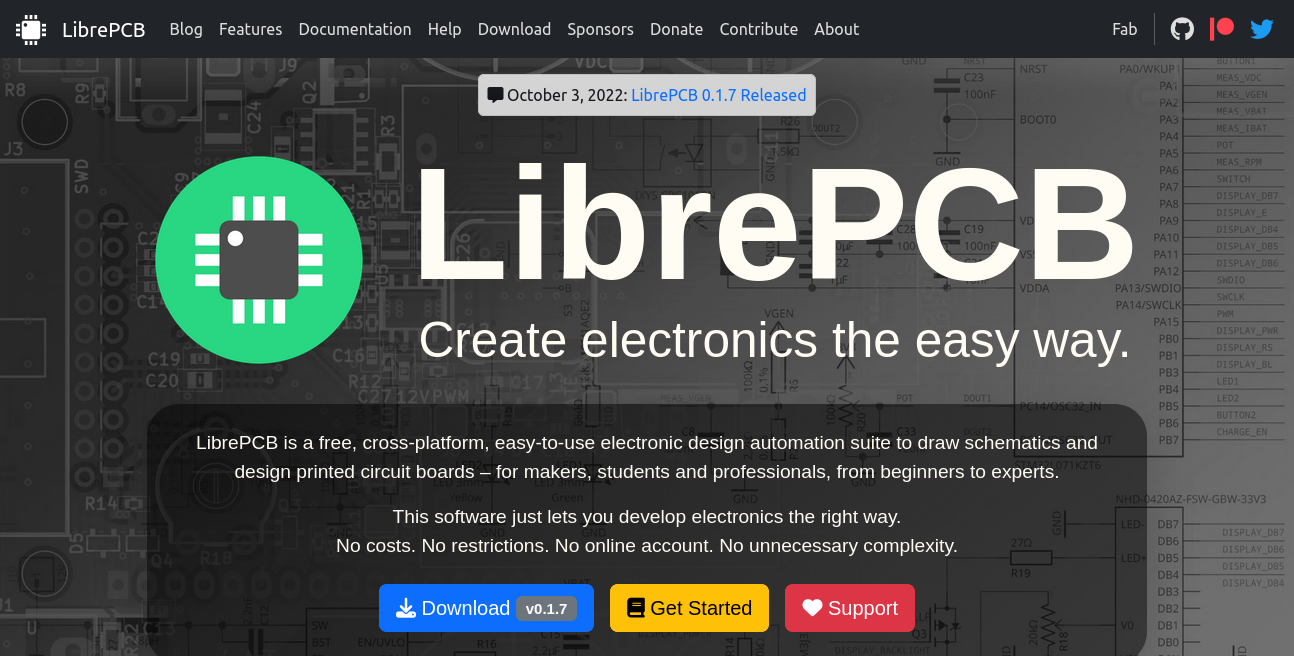
(A screenshot of LibrePCB website in 2023)
How To Install
For Ubuntu users:
1. Download the software package of LibrePCB.
2. You get the installer package file with .run extension
3. Give executable permission to this file.
4. Double-click it.
5. An installer window will show saying "Welcome To LibrePCB".
6. Click "Next" through all the steps
7. Wait for the process to take place. Note that this requires internet access.
8. Click "Finish" in the last step.
Installation finished.
We can confirm LibrePCB 0.1.7 works on Ubuntu 22.04 Focal Fossa.
- For Windows users: download and install the software package with EXE file extension.
- For Apple macOS users: download and install the software package with DMG file extension.
How To First Run
Run LibrePCB from your start menu.

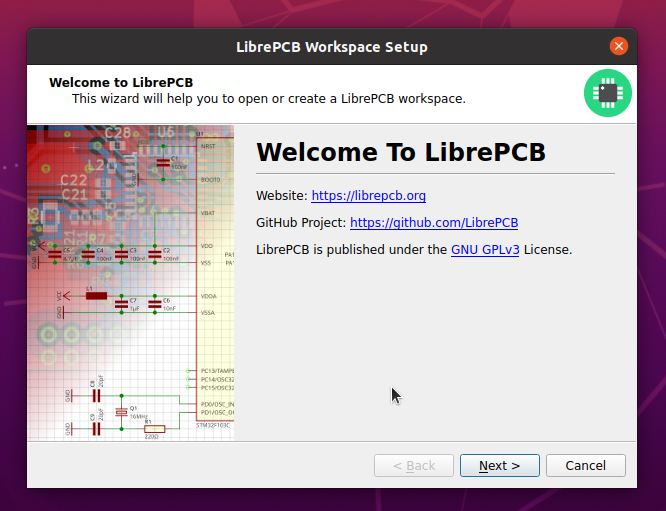
On first run, you will be asked to create a new workspace as the following:
1. A LibrePCB Workspace Setup window will show.
2. Select a folder as the place to save all document files. Go next.
3. A Choose Settings window will show.
4. Select four settings (optional) in this step:
- Language
- Preferred electronics standard
- Length unit
- User name
5. Click Finish.
6. LibrePCB ready.
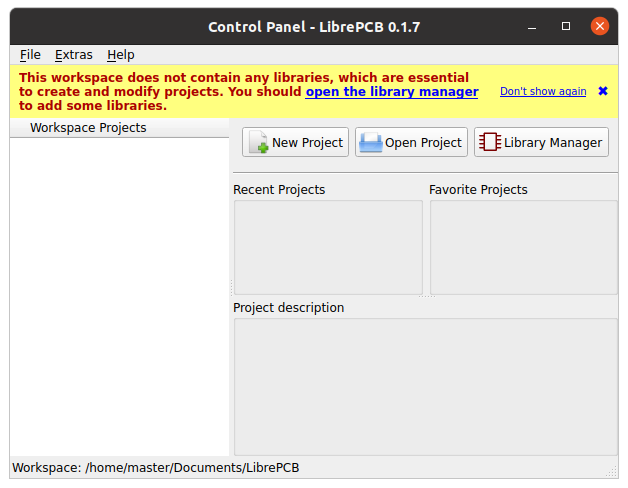
To this point, a workspace does exist, but a project does not, and library does not exist either in LibrePCB. It will say "This workspace does not contain any libraries, which are essential to create and modify a project." It is normal. Please continue next step.
How To Quick Start
According to the official documentation, to start working with LibrePCB you can:
1. Run LibrePCB.
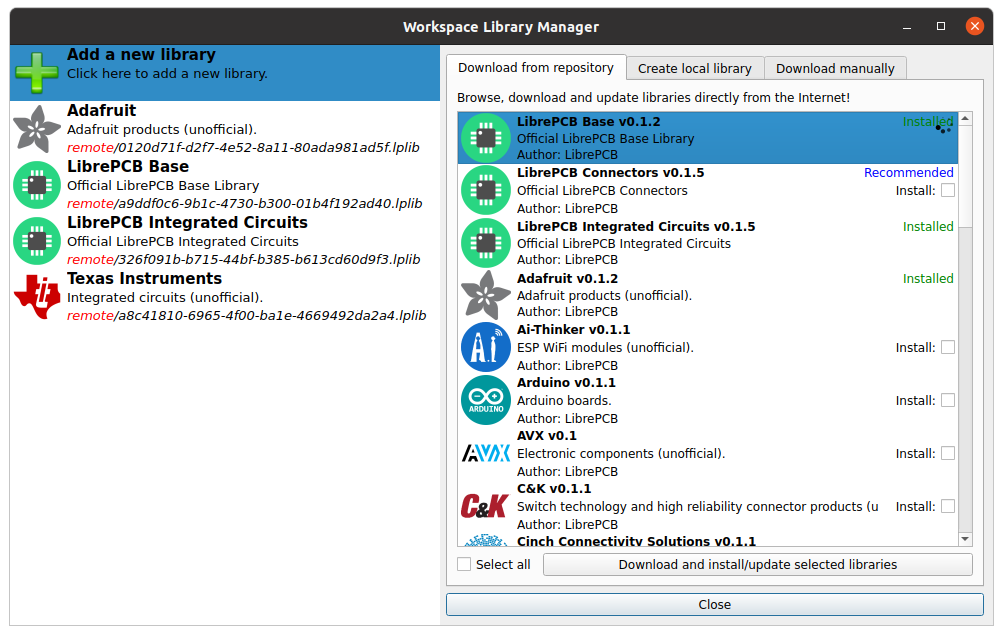
2. Click Library Manager.
3. A Workspace Library Manager window will show. This requires internet access.
4. Select "LibrePCB Base" and click Download.
5. Once downloaded, click Close.
6. LibrePCB is ready to create or open project.
How To Create a Project
1. Run LibrePCB.
2. Click File -> New Project.
3. Determine four things about this project:
- Name
- Author:
- License:
- Location: (no changes needed)
4. Click Next.
5. Feel free to select all of Add Schematic and Add Board.
6. Finish.
7. A new empty project will open with a Schematic Editor and a PCB Designer.
8. For a simple circuitry, you can for example:
- select a Resistor and click pointer several times in the schematic editor to place some.
- select a Wire and click to connect between Resistors.
- and so on.
9. Save Project.
How To Open a Project
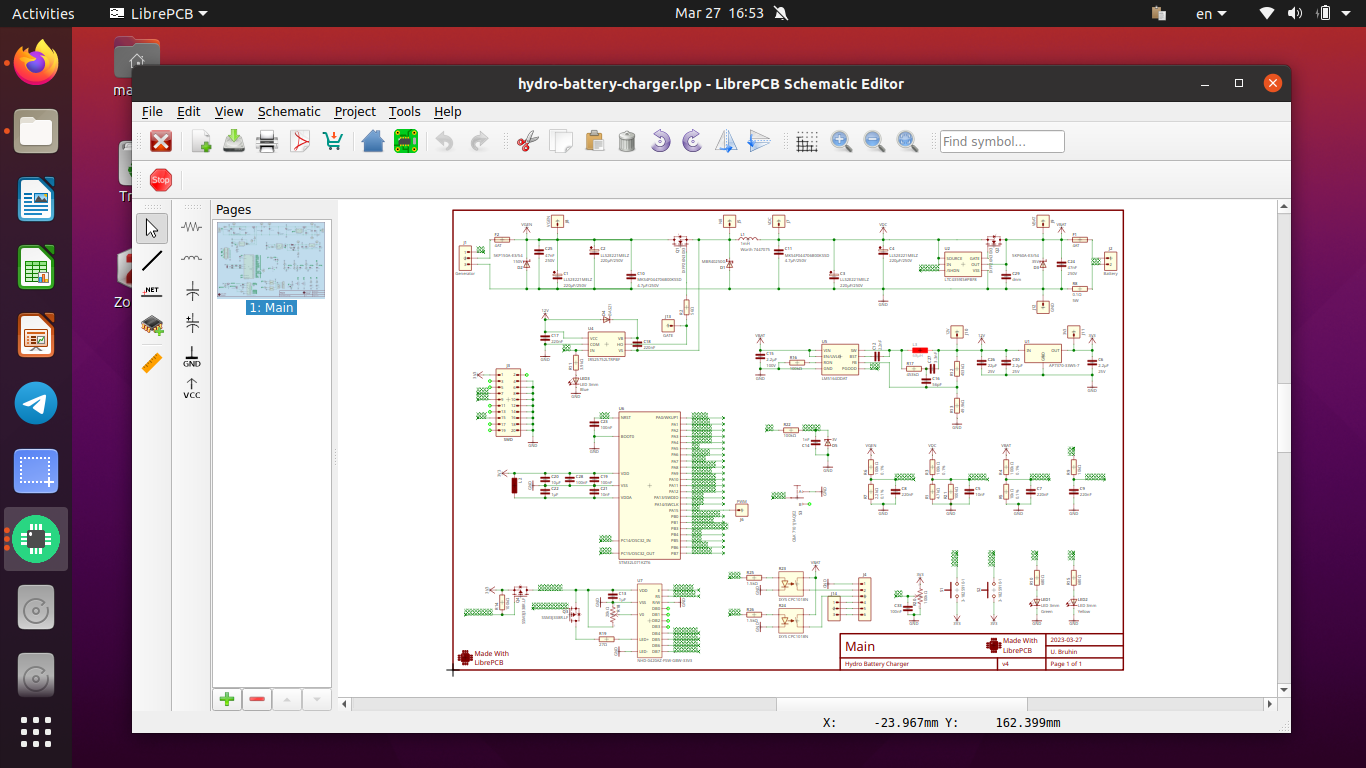
To show the capabilities of LibrePCB, it is very good to try it with a real world example. We can start with electronics project by the founder of LibrePCB, Urban Bruhin, which he published at GitHub (link 1, link 2) named Hydro Battery Charger.
1. Visit link 1 above.
2. On that GitHub web page, click Code button (green color) -> Download ZIP.
3. You are downloading a ZIP archive file named hydro-battery-charger-master.zip.
4. Extract the downloaded file so you get a folder with the same name.
5. Run LibrePCB.
6. Click File -> Open Project -> navigate to the extracted folder -> enter the folder named 'pcb' -> pick the file named hydro-battery-charger.lpp -> OK -> project opened.
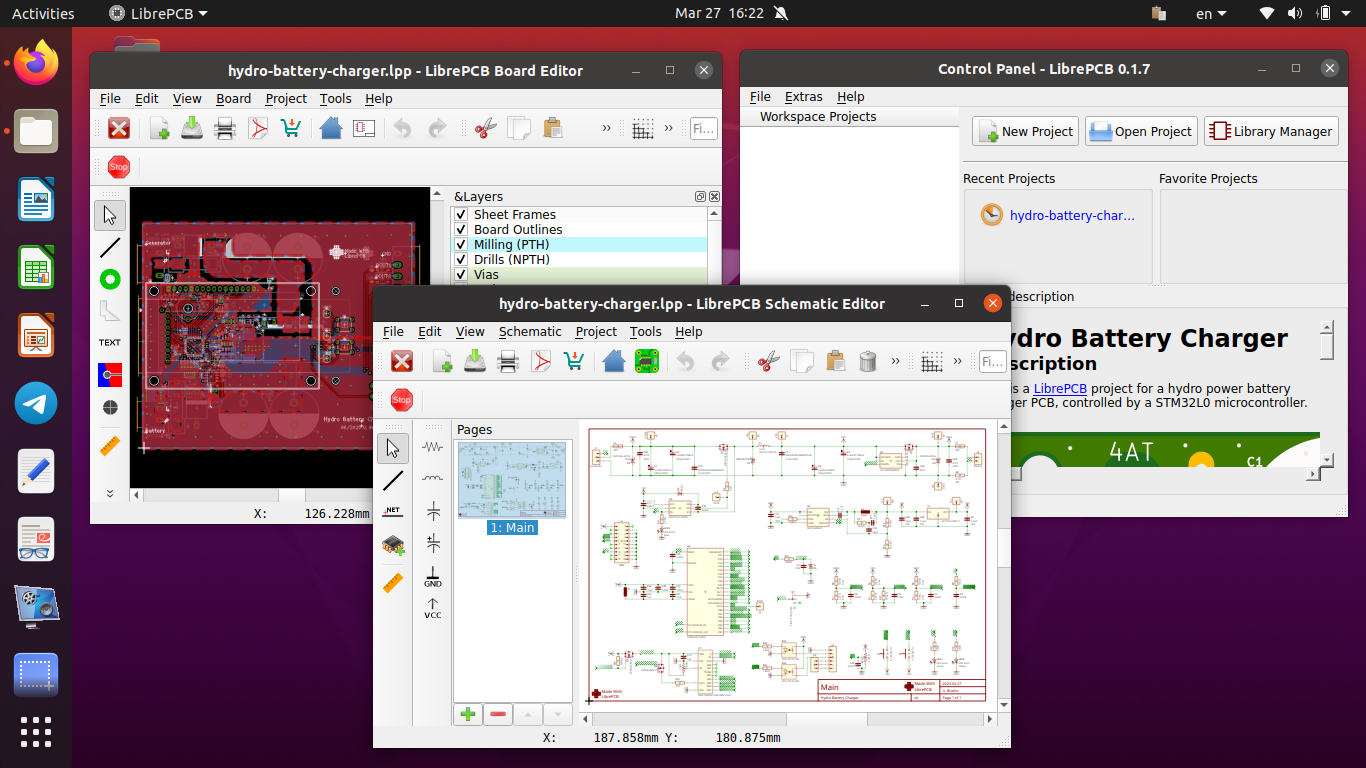
(Hydro Battery Charger electronic project by LibrePCB founder)
How To Get Help
If you need help, you can get help from the following:
1. Read the documentation at librepcb.org/docs.
2. Join the community forum and sharing at librepcb.discourse.group.
See Also
KiCAD - The Free Electronic Design Automation Software
SimulIDE - The Free Electronic Workbench Software
References
This article is licensed under CC BY-SA 3.0.