In this tutorial to will learn to censor photos using computer program GIMP. This is part of a mini series GIMP for Author – so then you can conceal digital information for your articles like faces, passwords, emails, bank accounts, and anything. You will reuse techniques you learned from the basics part. to select and save the pictures. You will get examples and exercises again here. Happy editing!
(One minute video showing how to censor a picture easily)
Subscribe to UbuntuBuzz Telegram Channel to get article updates directly.
Censoring
As one minute video above shown, here is how to do it procedurally:
- Select an area you wish to be censored using select tool.
- Go to menubar Filters > Blur > Pixelize > OK.
- Repeat censoring by pressing Ctrl+F to make censored area more unclear.
- Unselect by pressing Ctrl+Shift+A.
- Export.
Examples
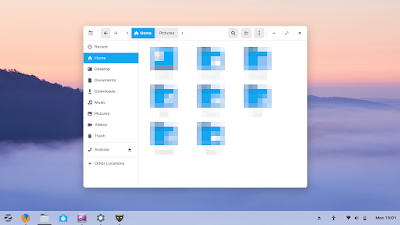
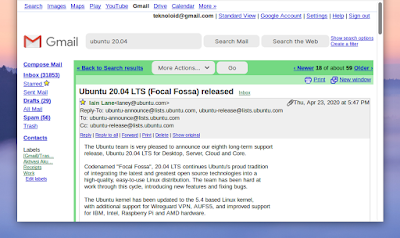
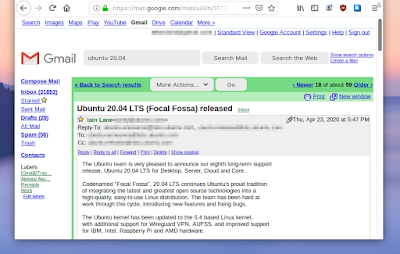
Here are examples of doing censorship to general pictures and to text. Think of Zorin screenshots below as generic photos – colorful, natural, not rigid – and think of email screenshots below as text documents – complicated, boring, rigid –. The former appears in the one minute video above.
Before:

After:

Before:

After:

(Notice my email address on top and sender's email addresses on middle are all censored)
Exercises
Continuing the previous exercises, now do these ones to improve your censoring:
- Censor your friend's faces.
- Take screenshot of your own Gmail inbox and censor the mails.
- Take screenshot of your Saved Logins in Mozilla Firefox with all password displayed and censor the passwords.
- Take screenshot of your ifconfig output and censor the MAC addresses.
To be continued...
This article is licensed under CC BY-SA 3.0.

