
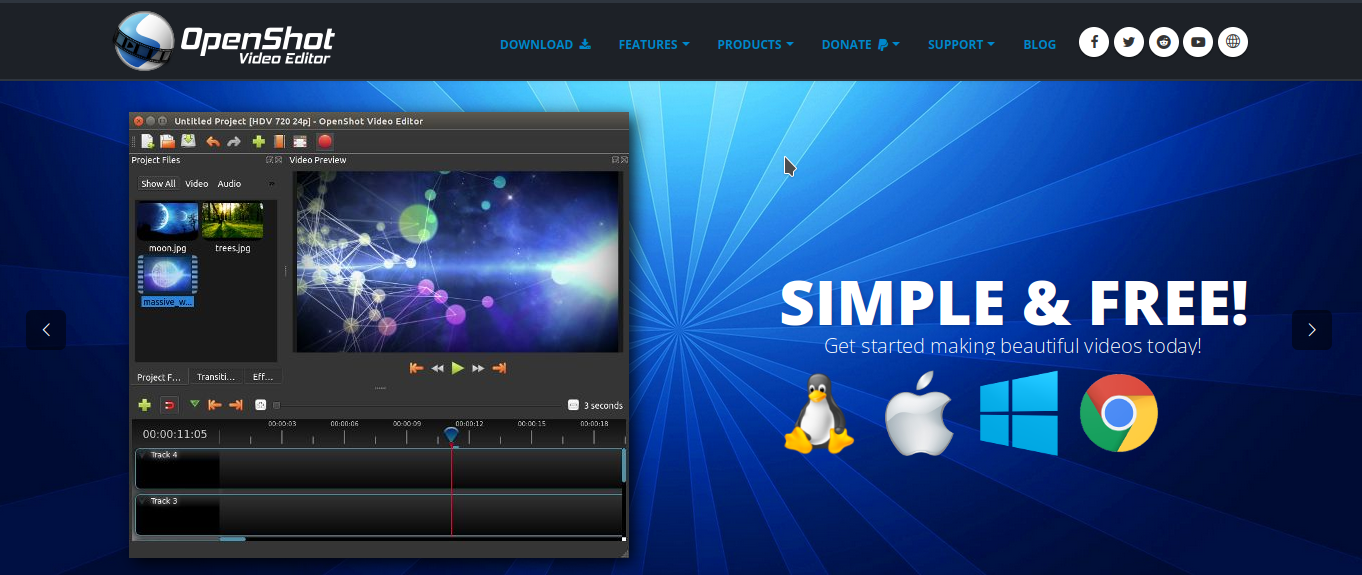
This is the first part of beginner's video editing tutorial with OpenShot. OpenShot is a small, user friendly, fast, multiplatform yet full-featured video editor alternative to Movie Maker. In this part, we will begin everything including installing the program, running it, and getting started to the user interface. Finally, this tutorial is intended mainly for school teachers. Now let's practice!
Subscribe to UbuntuBuzz Telegram Channel to get article updates.
Features
OpenShot is able to run on most computers, including the low-specs and older ones, aside from the following benefits below:
- free/libre open source software
- simple user interface and easy to use
- dark and light themes
- ability to cut, add, remove, join, mix videos with/without audios
- full featured for educational/school purposes
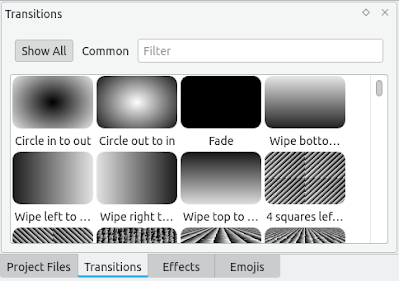
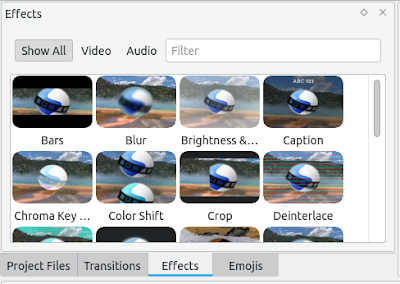
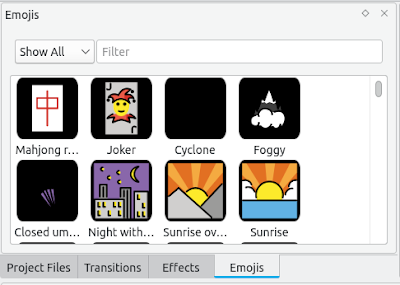
- built-in video effects, transitions, and emojis
- save videos to avi, mp4, ogv, webm etc.
- import and export Final Cut Pro (xml) and edit decision list (edl)
- available for GNU/Linux, Windows, macOS and Chromebook
- no trial limitations, no expiration, no serial numbers required, and
- more features at openshot.org.
Installing OpenShot
OpenShot is a third-party software. So in normal setup, your computer will not have it for you to use. To use OpenShot, you should install it to your computer.
For Ubuntu users: see our OpenShot Install Guide.
For Windows users: download at openshot.org/download.
For Mac users: grab OpenShot at link above.
Getting Started
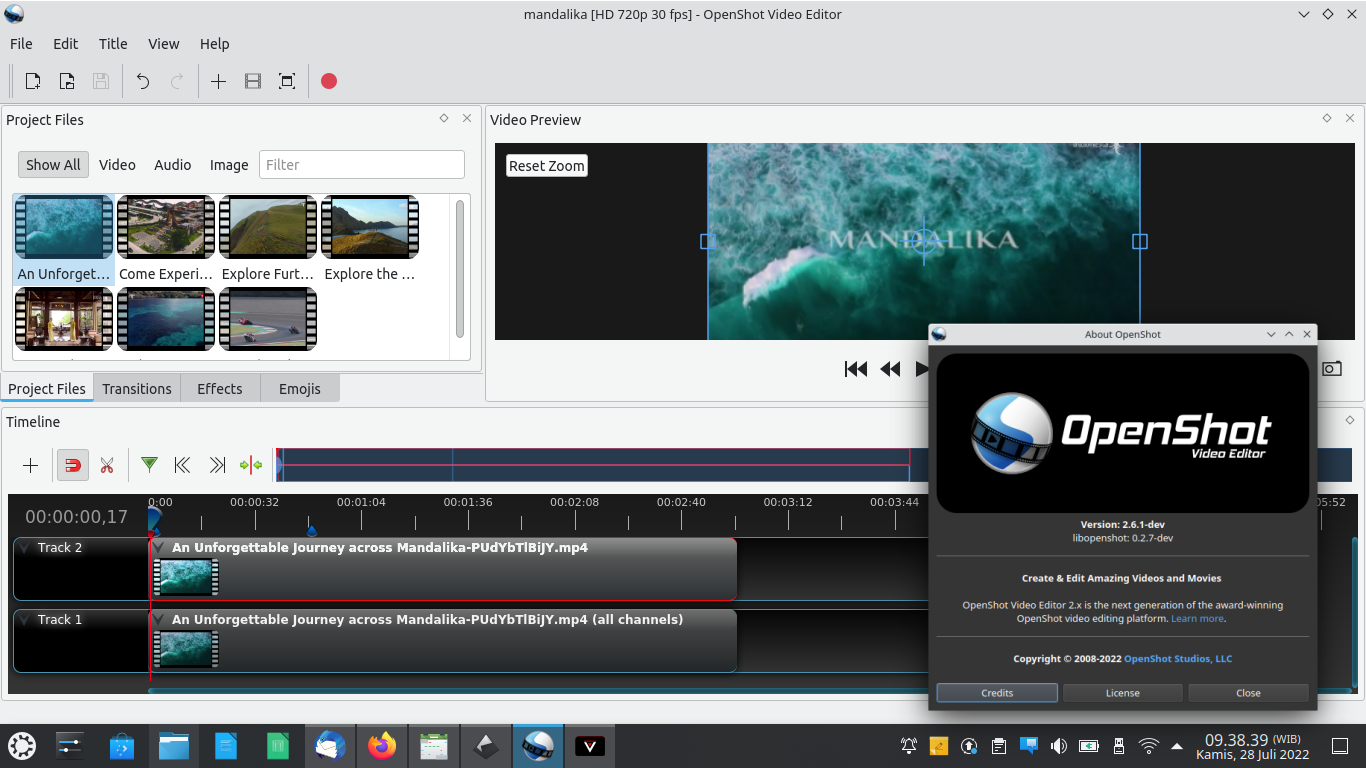
Run OpenShot from your applications menu. Once started, OpenShot window will look like picture below. This is OpenShot version 2.6.1-dev running on Kubuntu 22.04.
Understanding the User Interface
Titlebar, top part that contains file name and program name.
Menubar, top part that contains menus from File to Help.
Toolbar, a lineup of buttons under menubar.
Left panel, project section.
Right panel, video player section.
Timeline, where you put sequences of videos and audios.

Menubar
OpenShot is simple in menubar. There's only five items, namely:File, to create and open as well as render video project.
Edit, to undo and redo as well as configure software preferences.
Title, to write text in video.
View, to adjust software appearances.
Help, to read software's about and documentation.
Tools
OpenShot is simple in tools. It divides all tools into two sections, toolbar's tools and timeline's tools.

On the toolbar, there are generic tools that control your video editing process as a whole:
New Project, save current project as OpenShot project file .osp.
Open Project, pick an existing OpenShot project.
Save, Undo, Redo, self-explained.
Import Files, add videos, audios, pictures, text in picture files, GIF animations into project.
Choose Profile, configure the rendering e.g. final video format choice.
Fullscreen, make OpenShot window looks larger.
Export Video, render.
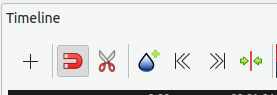
Timeline tools
On the timeline, there are specific tools that manipulate your tracks in particular:
Add Track, create an empty track (can be used for video and/or audio).
Snapping Enabled, to automatically "magnet" video clips you put into tidy positions.
Razor Tool, to cut video/audio clips.
Add Marker, a kind of bookmark but for timeline.
Previous Key Point, to jump between markers backward.
Next Key Point, to jump between markers forward.
Center the Timeline on the Playhead, when it goes too far to the right, make it visible again.
Left Panel
OpenShot has a left panel (dockable). Its main function is to populate your files, for example, video files, audio files, pictures, logos, etc. It has other functions as well, explained briefly below:
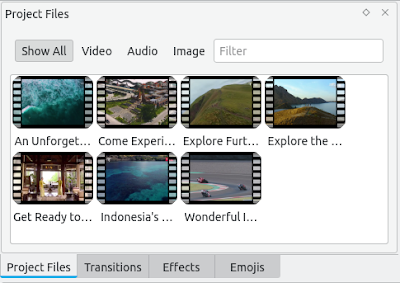
Project files: to populate your files before added to the timeline.
Introduction to the Timeline
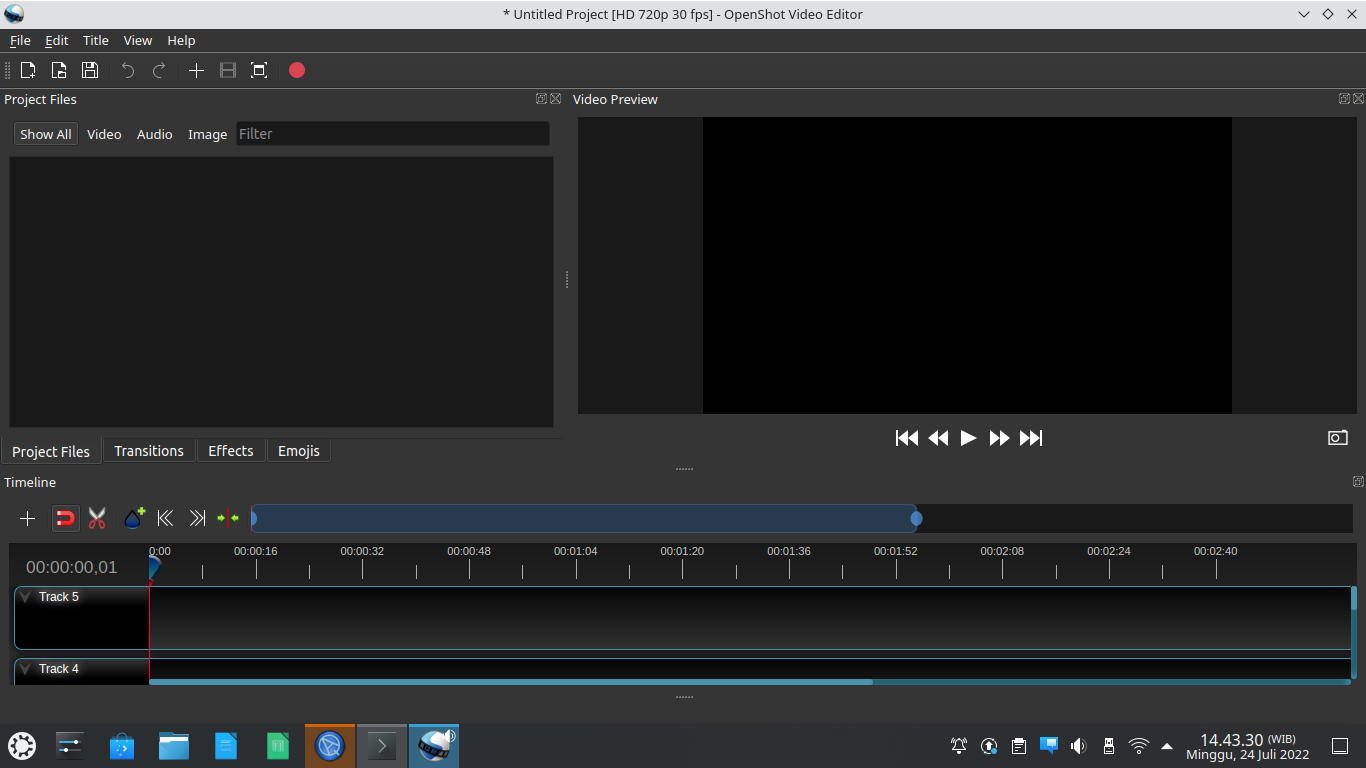
Video editing relies on timeline, where video clips are placed linearly in certain points of time. OpenShot timeline consists of parts described below:
Track 1, the place for video(s) and or audio(s).
Track 2, the place for video(s) and or audio(s).
Track n, the same as track 1 and 2, can be added by clicks.
Time points, the time marks that increases from 0:00 to 1:00 to 2:00 and more.
Playhead, the marker that the time point corresponds with the video frame.

Preparing Video Materials
Finally, we will make use of three videos published by our country, Indonesia, still in the spirit of recent MotoGP 2022 Grand Prix at Mandalika, Lombok Island. Download these videos in mp4 file format. (Note: you can watch and download them without YouTube's nonfree software via Invidious or NewPipe instead).
An unforgettable journey across Mandalika
Get ready to have a joyful time in Bintan!
Indonesia's best destinations Labuan Bajo
To Be Continued...
That's all for now. You've learned to getting started to OpenShot. In the next part, you will learn about video editing basics and making a short example video. See you next time!
This article is licensed under CC BY-SA 3.0.